
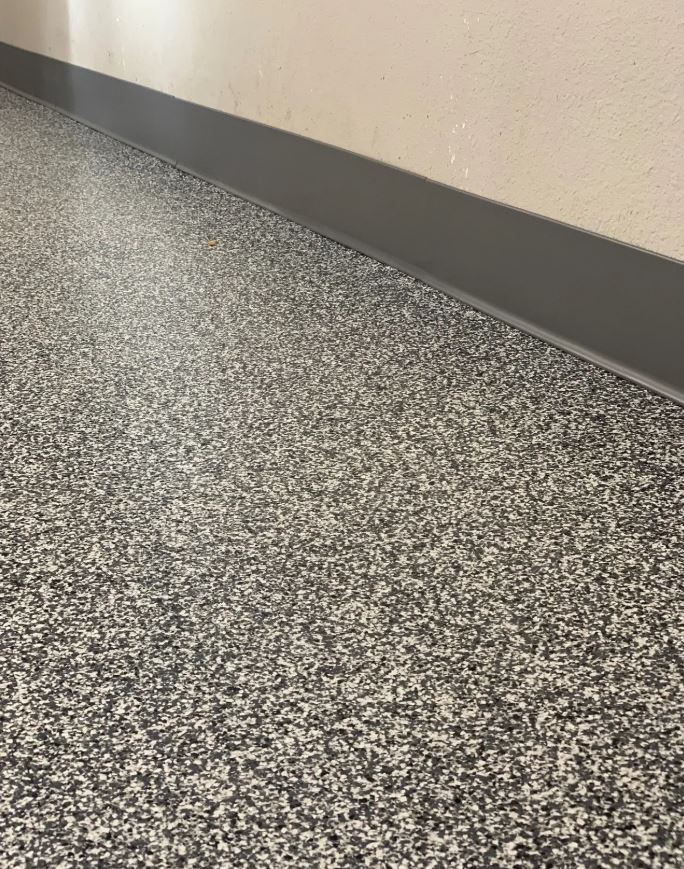
Flake flooring systems use decorative flakes—colorful chips—in a wet epoxy coating. This makes a textured, nice-looking floor. It's popular for busy areas in Denver, and for good reason. The result is a floor that looks great and lasts.
Here is why it works. Looking for a reliable Flooring Contractor in Denver residents depend on for new flooring projects.. The flakes come in different materials, sizes, and colors, so you can customize the look. The density of the flakes also matters. You choose how many go into the epoxy. Then, a clear topcoat seals everything, protecting the flakes and making a smooth, strong surface.
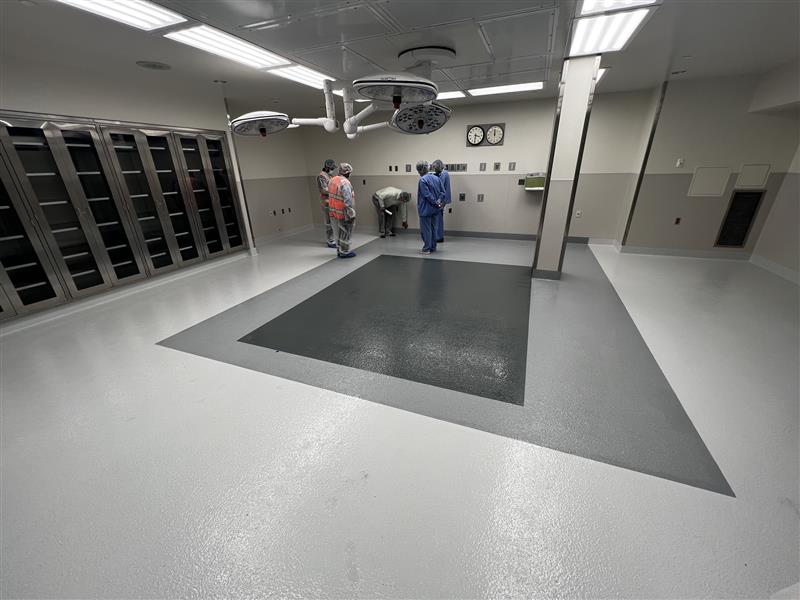
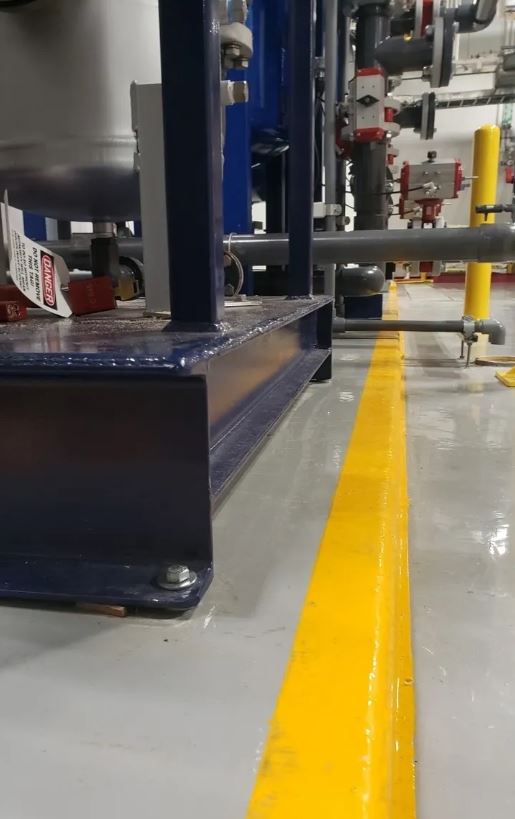
Flake systems work well. They hide flaws in the concrete underneath. This helps in garages or warehouses where the floor might be rough. Also, the textured surface can prevent slips, which is a safety benefit.
The look is great. A plain concrete floor becomes something intentional and modern. For owners who want to raise value, this is a budget-friendly upgrade that has a big effect. It's not just about looks. It’s about making a space that feels cleaner, brighter, and more professional. That matters to tenants, customers, and even your family.
Epoxy broadcast flooring is a durable and smooth choice for busy areas. You throw decorative flakes into a wet epoxy coating. Use it in garages, warehouses, or stores where you want something attractive and tough.
The process is straightforward, but accuracy counts. First, apply the epoxy base coat. While wet, throw the flakes onto the surface. This is the "broadcast" part. Choose different flakes—sizes, colors, materials—for your desired look. Flake density also matters. Opt for a light sprinkle or full coverage, based on appearance and use.
After the epoxy cures with the flakes, seal everything with a topcoat. This protects the flakes, makes a smooth, easy-to-clean surface, and adds to the floor's strength.
Here is why you might do this. Besides looking good, flake systems hide flaws in the concrete below. They also add texture, which can improve traction and prevent slips. If you skip the topcoat or don’t add enough flakes, the floor won’t be as strong or slip-resistant. Also, if you don't prep the concrete well, the epoxy won't stick, and the system could fail. So, details matter.
Flake systems focus on appearance. Even flake distribution creates a consistent, professional finish. Clumped flakes or bare spots make the floor look uneven and cheap. This matters in showrooms or retail spaces. Proper flake density helps you get that high-end surface customers want.
Proper flake is not just for show; it is about how long it lasts. When flakes are fully in the epoxy, they become part of the coating. This makes the system stronger and more resistant to wear. Poor flake application can cause chips, which exposes the epoxy. This leads to early wear and costly fixes.
Flake systems hide minor concrete flaws. The flake pattern can mask cracks, stains, or uneven areas. But, this only works if the flake distribution is even. Spotty coverage will not hide those flaws. So, ensure good flake coverage.
The flakes must bond with the epoxy. If the epoxy starts to cure when you add the flakes, they will not sink in. This causes poor adhesion, and the flakes will detach. Always add the flakes while the epoxy is still wet for maximum grab. This ensures a strong bond and prevents issues, keeping your floor looking great.
A topcoat seals the flakes and provides a smooth surface. Without a topcoat, the flakes face wear, and the floor will be hard to clean. The topcoat also makes the flake's color better and protects against sun damage, preventing fading. Use a topcoat made for flake systems to help them last and keep their look. It's the last step.
Let's discuss how to apply a flake system. It's straightforward, but some steps matter.
First, surface prep is key. Don't apply epoxy on a dirty or uneven floor and expect it to stick. Grind and clean the floor. Ensure it's free of grease or old coatings. The better the prep, the better the result.
Next: mix the epoxy. Follow the manufacturer's instructions. Get the ratios right, mix thoroughly, and apply quickly.
Now, broadcast the flakes. While the epoxy is still wet, toss flakes so they fall evenly. The aim is good coverage without clumping. Use your hands, a scoop, or a flake dispenser. More flakes create a denser look.
Finally, sealing. After the epoxy cures, apply a clear topcoat to lock in the flakes and create a durable, easy-to-clean surface. This protects the flakes from wear. Without a topcoat, flakes will come loose, and the floor won't look good.
So, you're installing a flake floor. Here is the stuff you need to do it right.
First, you need epoxy. Get a good epoxy base coat made for flooring. The epoxy is the foundation, so don't cheap out. You also need decorative flakes. They come in many colors and sizes, so pick something you like. Start with about 4–6 pounds per 250 square feet, and adjust based on how much coverage you want.
Next, you need application tools. You'll need a squeegee to spread the epoxy evenly. A spiked roller is important to remove air bubbles in the epoxy. Don't skip that step. You’ll need mixing buckets, stir sticks (or a mixing drill attachment), and gloves. Use plastic sheeting to protect anything you don’t want covered in epoxy.
Finally, remember the topcoat. This protects the flakes and gives you the final finish. A clear polyurethane or polyaspartic coating works well. Be sure it's compatible with your epoxy base. Also, get the right PPE. Gloves, eye protection, and a respirator are important when you're working with epoxy.
Want a perfect, even spread of flakes for your floor? It starts with the broadcast. Avoid clumps or bald spots. Here is why: These issues look unprofessional, especially in detail-oriented places.
First, ensure your epoxy is wet. If it's starting to tack up, stop. Flakes will sit on top instead of embedding. That can cause problems when you apply the topcoat.
Next is technique. Some fling flakes. This wastes material and creates unevenness. Instead, grab a handful and gently toss them in front of you, like feeding chickens. Keep your hand low and move at a steady pace. Slightly overlap each throw.
Consider style. For modern styles, use a lighter flake density for a subtle look. For rustic styles, use more flakes. Mixing flake sizes adds visual texture.
Don't skimp on flakes. It’s better to have too many. You can scrape off extra flakes after the epoxy cures. If you don't have enough, the floor looks unfinished.
So, you want a flake floor? You can dial in the look. It's more than just throwing flakes down. You control how dense you want the flakes, and that changes the look.
A light flake broadcast gives you a subtle, granite-like feel. A heavy broadcast makes a bolder statement with more texture. It also hides concrete imperfections. This is useful in garages or warehouses.
Mixing flake colors is fun, especially since Denver's design scene loves modern, earthy tones. Want a blend of grays and browns to mimic natural stone? Easy. Want metallic flakes for a modern touch? Doable.
Plan it out before you start. Get sample flakes, mix them in different ratios, and see what you like. It’s easier to adjust the blend in a bucket than on your floor after the epoxy's already applied.
Don’t skimp on the topcoat. It seals everything and gives you a smooth, easy-to-clean surface. Without enough topcoat, the flakes will stick up, and it'll be rough and hard to clean. Also, they'll come loose. Nobody wants that.
Are you broadcasting flakes into wet epoxy and facing issues? It occurs. Bubbling can happen. This often means air is trapped in the epoxy. As it cures, the air tries to escape. Ensure you mix your epoxy well. Over-mixing or fast mixing can add air. Also, check the temperature. If it is too hot, the epoxy may cure too fast and trap air.
Another issue is "fish-eyeing." Here, the epoxy pulls away from spots, leaving craters. This is often from floor contamination, like oil, grease, or dust. Surface prep matters. Grind or shot blast the concrete. Then, clean and degrease before applying epoxy. If fish-eyeing starts, lightly sand the area and add a thin epoxy coat.
Uneven flake spread can also be a problem. This is often from inconsistent broadcasting. Toss the flakes evenly. Avoid dumping them in one spot. Try a seed spreader or toss them up so they fall like rain. Over-broadcast if needed. Sweep up the extra flakes later. Poor flake coverage will show the base epoxy color, which defeats the purpose of a flake floor.
You broadcast your flakes, and it looks great. What's next? Proper curing and sealing are key. Don't rush. The epoxy must fully harden. Check the manufacturer's specs, since every product differs. Temperature and humidity matter, too. Cold or humid conditions mean more time. If you skip this, the floor could be soft and easily damaged. No one wants that.
Once the epoxy cures, seal it. This locks everything in and creates a durable, easy-to-clean surface. The sealant guards the flakes from wear, prevents peeling, and resists chemicals and stains. Garages see oil, and warehouses see spills. Sealer is your defense.
You'll often use a clear epoxy or polyurethane topcoat. Apply it evenly, following the manufacturer's directions. Multiple thin coats work better than one thick coat. People often skimp on the topcoat, but that’s a mistake. A thin or uneven topcoat wears through fast. This exposes the flakes and leaves you with a patchy, weak floor. Also, clean and dry the floor before you apply the sealant. Any trapped dust or moisture causes future problems. Get this right, and your flake floor looks great and lasts.
Keeping your flake floors looking good isn't hard, but it takes some regular care. A little effort now saves you headaches (and expenses) later.
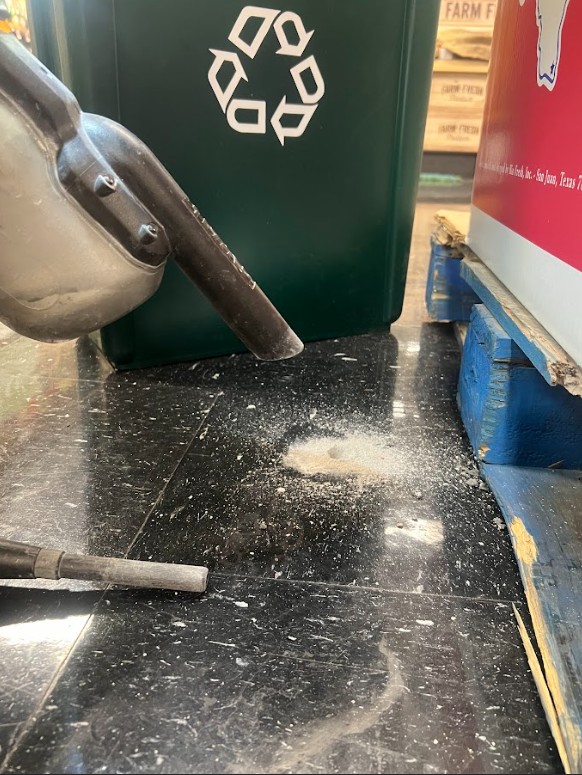
First, regular sweeping or vacuuming is key. You want to remove any loose dirt or debris before it gets ground into the surface. Grinding dulls the finish.
For cleaning, use mild, pH-neutral cleaners. Harsh chemicals can harm the epoxy and the flakes. Soap and water usually work. Rinse to remove any residue.
Spills happen. Clean them up fast. Things like oil or harsh chemicals can stain or harm the floor if they sit too long.
Even with the best care, busy areas might show wear. That's where a maintenance coat helps. A new topcoat every few years can refresh the floor and extend its life. It's cheaper than replacing the whole floor!
One more thing: don't drag heavy objects across the floor. Use furniture pads under tables and chairs to prevent scratches. Small things matter.
Okay, you're probably wondering about the cost, right? Let's talk money. For a flake flooring system in Denver, expect a range. I've seen projects like yours cost $5 to $12 per square foot.
What affects the price? The type of epoxy matters. Some epoxies cost more. The flakes themselves also matter. More decorative flakes add to the total. Also, concrete prep work is a big factor. If your floor has cracks and needs grinding and patching, labor costs increase.
Don't forget the topcoat! A durable topcoat is key. You don't want to skimp here because it protects the whole system. The number of coats also affects the price.
Note that these are estimates. The best way to understand the cost for your project is to get quotes from flooring contractors in Denver. They can assess your space and give you a more accurate number.
Flake flooring systems are a popular choice, and here is why. These systems involve adding decorative flakes into a wet epoxy coating. Think of adding colorful confetti to a durable base. Once dry, you seal it with a topcoat. The result? A textured, nice-looking floor. But looks aren't everything.
One big plus is how long it lasts. This is important in busy areas. Garages, warehouses, and commercial kitchens get a lot of use. Flake systems can handle it. Also, the textured surface resists slips, which makes it safer to walk on. And floors aren't always perfect. Flakes hide small flaws in the concrete, which saves time and money on prep work.
You have many choices for flake type, size, and color. Want a simple look? Use smaller, neutral flakes. Need something bright? Mix in bigger, bolder colors. You also pick how many flakes to use. A light sprinkle is subtler, while a heavy coat makes a fully covered look. Remember, the topcoat is important. It protects the flakes and makes the surface smooth and easy to clean.
Flake system applications involve adding decorative flakes into a wet epoxy coating. This creates a textured, attractive floor, popular in high-traffic areas like garages, warehouses, and retail spaces.
Let's break it down. You can select from different flake types. They come in different materials, sizes, and colors. Flake density matters too, which is how much you spread per square foot. Too little looks sparse. Too much hides the base color and texture. It requires balance.
Here is why: The flakes hide flaws in the concrete. The topcoat is key. A clear topcoat seals everything. It protects the flakes from damage and makes the floor easy to clean. Without it, the flakes chip and peel. You don't want that.
Next steps? We have installed flake flooring in Denver for years. We know what works. We commit to quality. Every floor we install looks great and lasts. We use the right materials and techniques and focus on the details. That makes a good flake floor.

With flake flooring, many looks are possible.
Consider patterns. A full broadcast gives total coverage. The flakes scatter so densely that you can't see the epoxy underneath. Garages often use this because it hides flaws well. Partial broadcasts let you see more of the base epoxy color. You can even make custom patterns. Think stripes, logos, or geometric shapes to fit your space.
Color is also key. Most flakes mix different colors. Choose neutral tones for a subtle look. Or, pick brighter colors to make a statement. Some people even match the flake colors to their favorite sports team or company colors.
Also, think about the flake size and shape. They range from small, glitter-like pieces to larger, irregular shapes. Mixing sizes can add depth and texture.
How do you decide? Look at examples. Ask your contractor for photos of past floors. Get sample flakes and spread them to see how they look in your space with your lighting. Exploring options takes time, but it's worth it.
Flake flooring isn't just about appearance, but it excels there. You get a surface that withstands wear, hides imperfections, and looks great. That’s a win. Broadcasting decorative flakes into wet epoxy changes things, especially in busy places.
Garages, warehouses, and showrooms endure a lot. Flake floors add protection and hide cracks, stains, and other eyesores. There are many flake options. You can choose subtle, bold, or multicolored styles.
Flake density matters. Too few, and you miss the full effect. Too many, and you waste material and affect the floor's texture. Also, the topcoat seals everything, protects the flakes, and makes the floor easy to clean.
Without a topcoat, the flakes can peel or lift, and the floor becomes harder to maintain. Nobody wants that. If you want a durable flooring option that hides flaws and looks great, consider flake flooring. It pays off in function and looks.
Achieving a flawless flake broadcast in wet epoxy requires meticulous attention to detail. Even distribution of flakes is crucial for visual appeal and consistent texture. Proper integration ensures the flakes bind securely within the epoxy matrix, preventing detachment and ensuring longevity of the floor.
Controlling flake density is essential for achieving the desired aesthetic. Too few flakes may result in a sparse, uneven appearance. Conversely, excessive flake application can create a dense, matted surface that obscures the epoxy's clarity and potentially weakens the overall system. Careful monitoring and adjustment are key.
The wet epoxy broadcast method involves applying flakes directly into a freshly applied epoxy coating. This technique maximizes adhesion as the flakes become fully encapsulated within the epoxy layer. Timing is critical; the epoxy must be wet enough to allow proper flake embedment, but not so fluid that the flakes sink excessively.